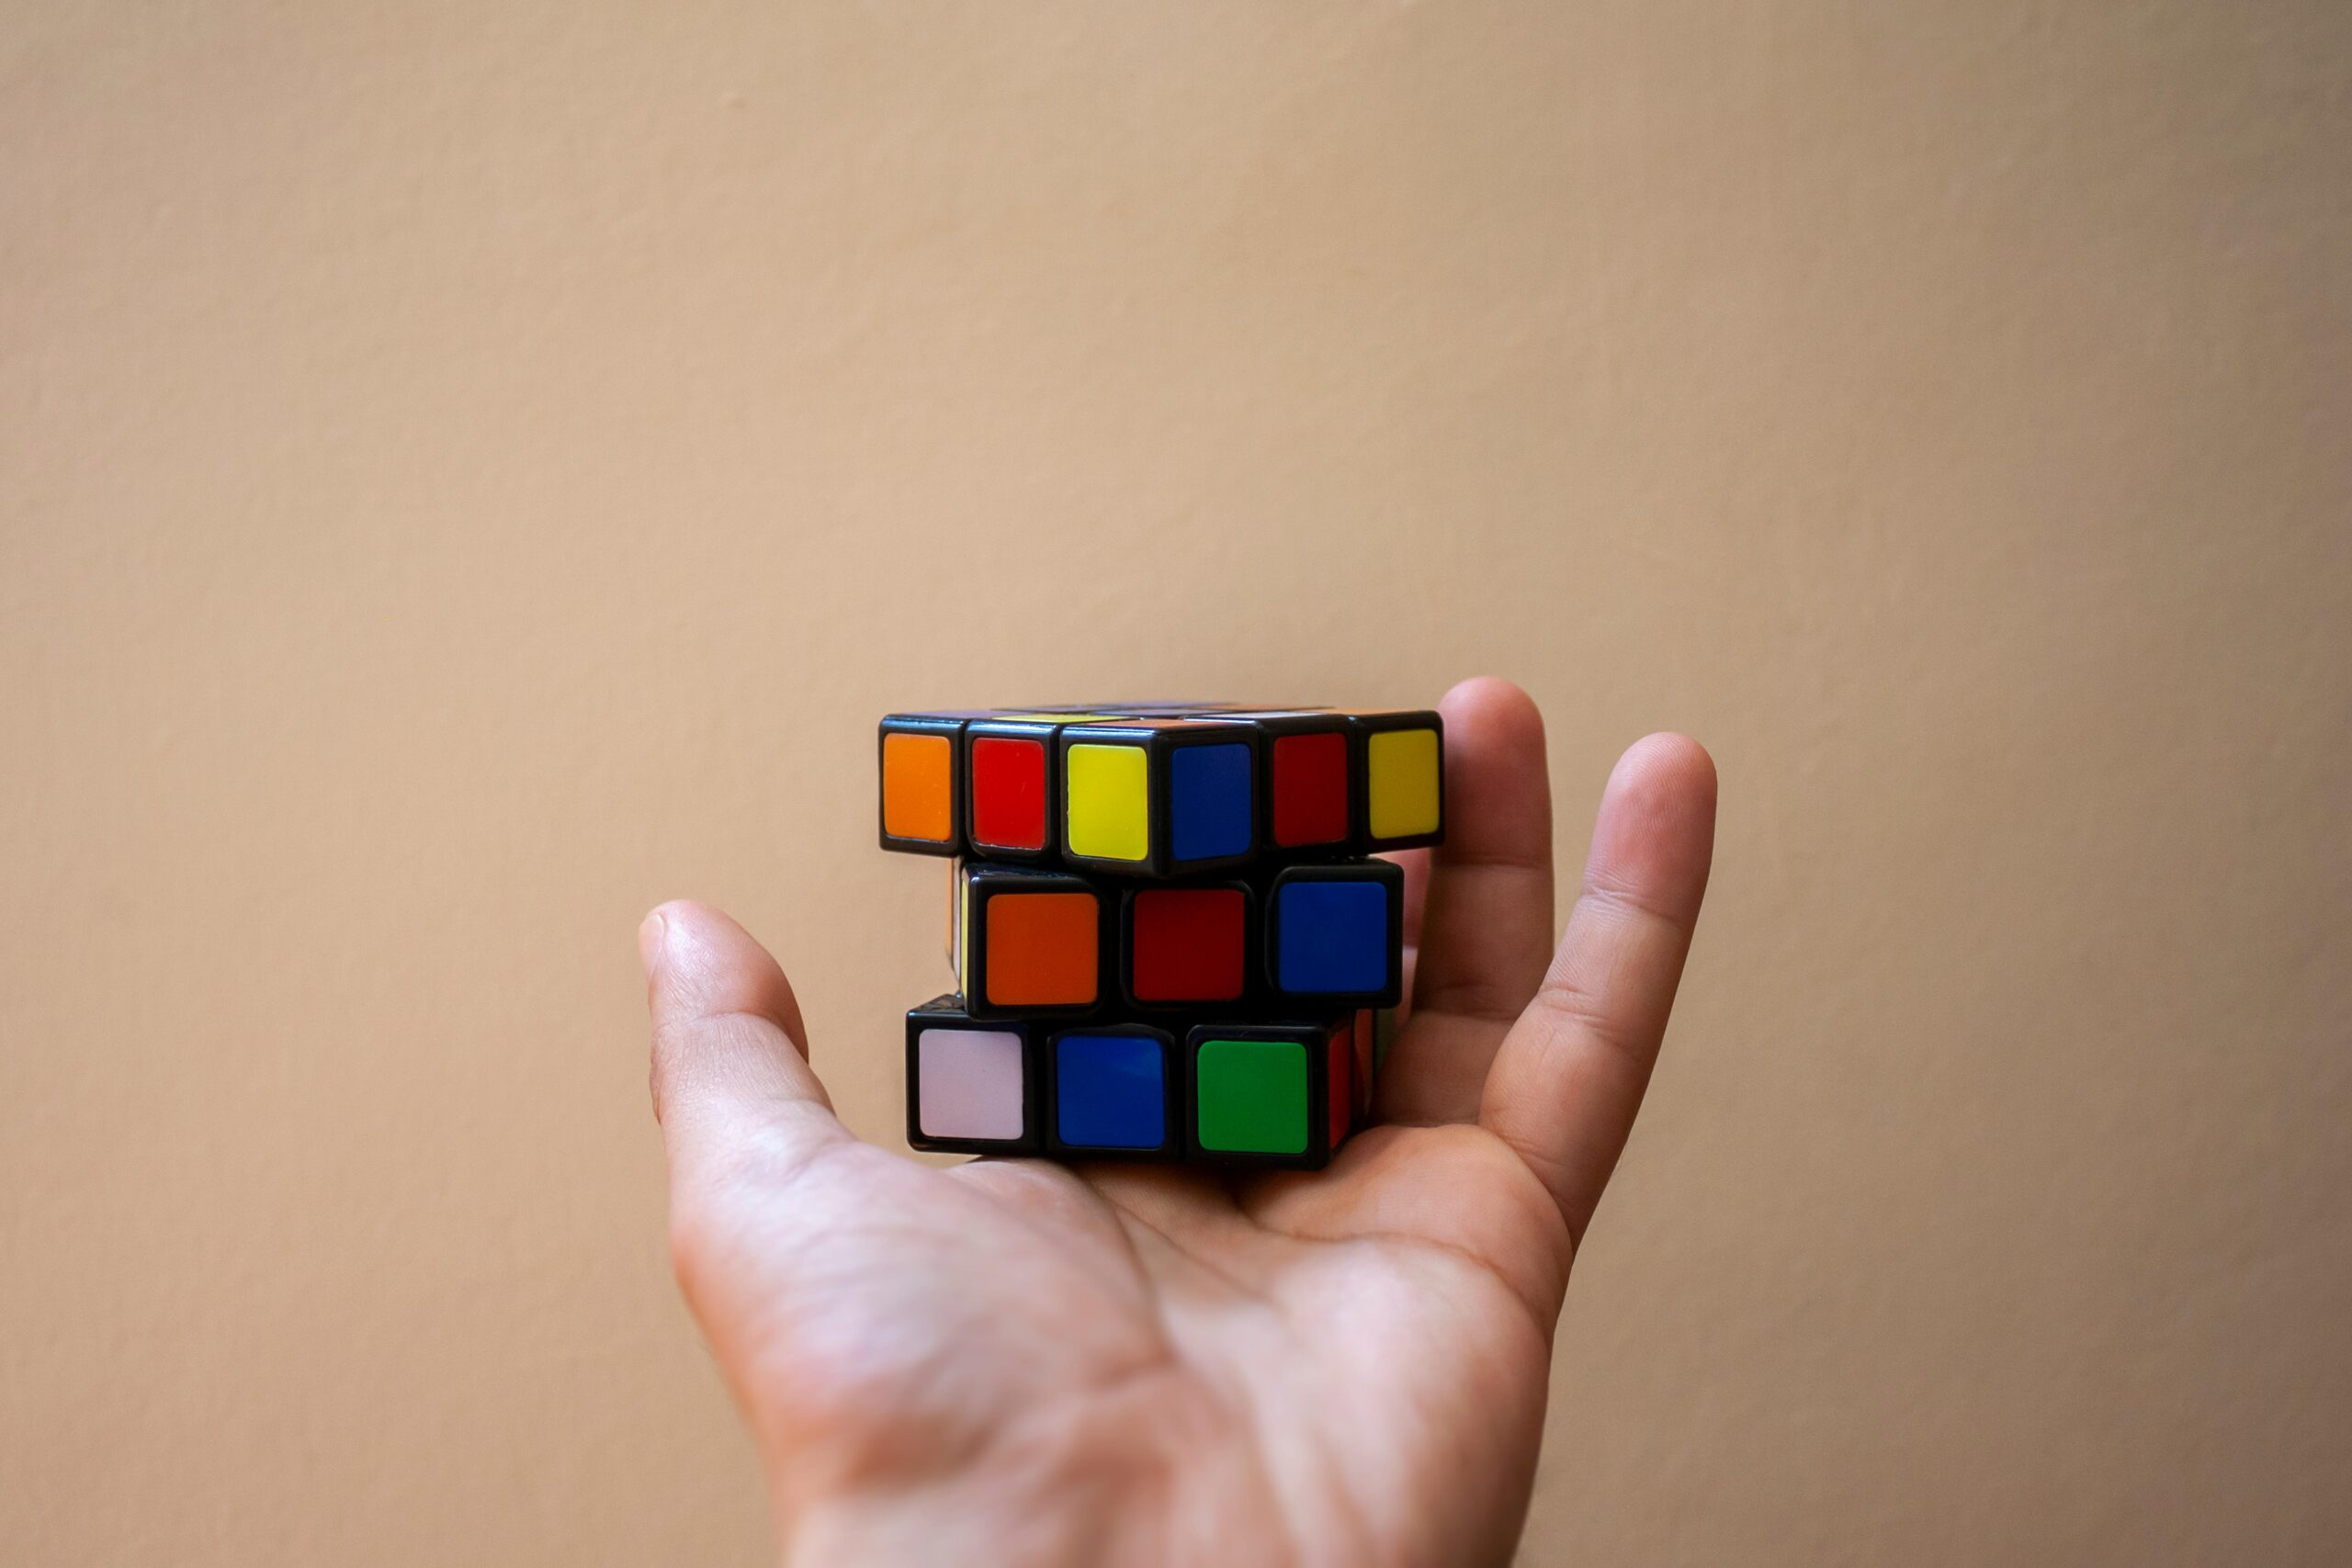
Mastering the Rubik’s Cube: A Step-by-Step Beginner’s Guide
Learn how to solve the Rubik’s Cube with this step-by-step beginner’s guide. Master the layer-by-layer method, algorithms, and tips for efficient solving.
Solving a Rubik’s Cube may seem impossible at first, but with patience and the right approach, anyone can master it. The key is to break the process down into smaller steps, making it easier to understand and practice. If you’re feeling frustrated, don’t worry—you’re not alone! Many people struggle in the beginning, but with persistence, you’ll soon find yourself solving the cube with confidence.
The layer-by-layer method is the most beginner-friendly way to approach the puzzle. By focusing on one step at a time, you’ll gradually understand the pieces, learn the moves, and solve the cube systematically. Let’s dive into the step-by-step process that will help you achieve a solved state efficiently.

Step 1: Understanding the Pieces
Before you start solving, it’s important to understand the structure of the Rubik’s Cube. Each cube consists of three main types of pieces:
- Centers: These are the fixed middle pieces on each face of the cube. They don’t move and determine the color of that side.
- Edges: These have two colors and are positioned between the corners.
- Corners: These pieces have three colors and define the positions of each layer.
Understanding these key elements will help you visualize how the cube functions and allow you to manipulate it more effectively when solving each ste
Step 2: Solving the First Layer
The first step to solving the Rubik’s Cube is completing the first layer. This starts with forming a cross and then solving the corners.
Solving the Cross
Begin by aligning the four edge pieces of the top layer with the correct reference color (often white). The goal is to have all four edges facing up while also matching the side color with the side center.
Solving the Corners
After completing the cross, place the white corners in their correct positions, ensuring they match the side colors. To do this, use the following algorithms:
- If the corner is in the wrong position, use R U R’ to bring it into place.
- For more specific cases, apply F’ U’ F to correctly position and rotate the corner.
- If necessary, repeat R U2 R’ U’ R U R’ until the corner is properly aligned.
By following this process, the first layer will be completely solved without disturbing other sections of the cube.
Step 3: Solving the Second Layer
With the first layer done, it’s time to move on to the middle layer. This involves correctly placing the edge pieces into their proper positions.
Inserting the Edge Pieces
If an edge piece is in the wrong place, use the following algorithms to insert it correctly:
- For the right side, perform U R U’ R’ U’ F’ U F.
- For the left side, apply U’ F’ U F U R U’ R’.
Fixing Misplaced Pieces
If an edge piece is already in the second layer but is incorrect, simply use one of the above algorithms to move it out and then reinsert it correctly. Focus on placing each piece in its correct layer step by step.
With practice, recognizing the patterns and executing the right moves will become second nature.

Step 4: Solving the Third Layer
The final layer is where the puzzle gets more complex. This step involves four main tasks:
- Orienting the Edges
- Permuting the Edges
- Permuting the Corners
- Orienting the Corners
Orienting the Edges
Your goal here is to form a cross on the top layer. Depending on how many edges are oriented correctly, you will encounter one of three possible scenarios:
- A single strip
- An “L” shape
- No oriented edges
To solve this, use the following algorithm:
- F R U R’ U’ F (if you have an “L” shape)
- F U R U’ R’ F’ (if you have a line or no edges aligned)
Rotate the cube 180 degrees if needed to align the pieces correctly.
Permuting the Edges
Now, rearrange the edges into their correct positions using:
- R U R’ U R U2 R’ (repeat if necessary)
Once the edges are aligned, the next step is to position the corners correctly.
Permuting the Corners
The corner pieces may need to swap places before they can be fully solved. Use this algorithm to rearrange them:
- U R U’ L’ U R’ U’ L
If needed, apply the move multiple times from a different angle to adjust the configuration.
Orienting the Corners
Finally, orient the corners so they face the correct direction. Use the R’ D’ R D algorithm and repeat until each corner is correctly aligned.
If one corner remains scrambled, continue rotating it until all colors align perfectly.
Step 5: Congratulations! You’ve Solved the Rubik’s Cube!
After following this beginner’s method, you’ve successfully reached the solved state! Give yourself a pat on the back—you did it!
Now that you’ve completed the cube, what’s next? It’s time to refine your technique and improve your speed.

Tips and Tricks for Success
Mastering the Rubik’s Cube takes practice. Here are some key strategies to help you solve the cube more efficiently:
✅ Break the solution into smaller sections: Focusing on one step at a time prevents you from feeling overwhelmed.
✅ Practice consistently: Solving the cube regularly helps build muscle memory and improves recognition of patterns.
✅ Memorize important algorithms: Learning and practicing key sequences will make solving much quicker and more intuitive.
✅ Don’t get discouraged: It takes time and persistence to master the cube. Every failed attempt is a learning experience!
✅ Improve your speed: Once you’re comfortable, start refining your moves and reducing unnecessary rotations.
With time and effort, you’ll become faster and more confident in solving the Rubik’s Cube. Keep practicing, and soon, solving the cube will feel completely natural!

