Conceal Pimples Makeup for Skin Being a beauty enthusiast, I know how frustrating it can be to deal with breakouts while trying to achieve a flawless look. Over the years, I have tested different techniques and products to find the best way to conceal pimples without making them worse. The right skincare and makeup routine can make a huge difference in creating a natural-looking finish that lasts all day.
Mastering the Art of Hiding Pimples
Start with a proper skincare routine to ensure a smooth base. Cleansing, moisturizing, and using non-cakey primers will help prep your skin before applying foundation. When it comes to covering acne and blemishes, the right methods matter. Use a high-coverage concealer and tap it gently over the pimples instead of rubbing. Layering with a seamless blend ensures a perfect and long-lasting finish.
Fixing Breakouts with the Right Products
Choosing the right products is key to making your makeup look natural. Opt for oil-free and lightweight formulas to avoid clogging pores. A setting powder can help hide any imperfections and keep your skin from looking too shiny. The true art of covering pimples lies in blending everything well so that it shines in the right way—enhancing your features while maintaining a smooth, even complexion. When done right, these techniques can boost your confidence and leave you feeling your best.
Step 1:Conceal Pimples Makeup for Skin Prep Your Skin for Success
Start by cleansing your face with a gentle cleanser to remove excess oil, dirt, and any leftover residue. Avoid scrubbing, as it can irritate the skin and worsen the blemish. Instead, use a soft patting motion to keep your skin calm.
After cleansing, hydrate your skin with an oil-free, lightweight moisturizer. This prevents dryness and flaking, which can make your makeup application look patchy. If you have an inflamed pimple, use a spot treatment with salicylic acid or benzoyl peroxide. Apply a thin layer and allow it to fully absorb before moving on.
To ensure long-lasting results, use a mattifying, non-comedogenic primer. This helps control shine while providing a smooth base for foundation. Focus on areas where you need extra help, especially if your skin is acne-prone. With these steps, your makeup application will look flawless and natural.
Step 2: Conceal Pimples Makeup for Skin Color-Correct for Maximum Coverage
When covering red pimples, the right color corrector is essential. A green corrector helps neutralize the redness, making it easier to conceal. For dark spots or post-acne marks, a peach or orange corrector works best to counteract dark pigmentation and brighten those areas. Applying the right shade ensures that your base looks natural and even.
Use a small brush or your fingertip to apply the corrector. The trick is to pat, not rub, the product onto the skin. This prevents the corrector from moving and keeps the coverage intact. Once applied, gently layer your concealer on top. Blending is key—focus on softening the edges so the corrector and concealer fade seamlessly into the rest of your skin.
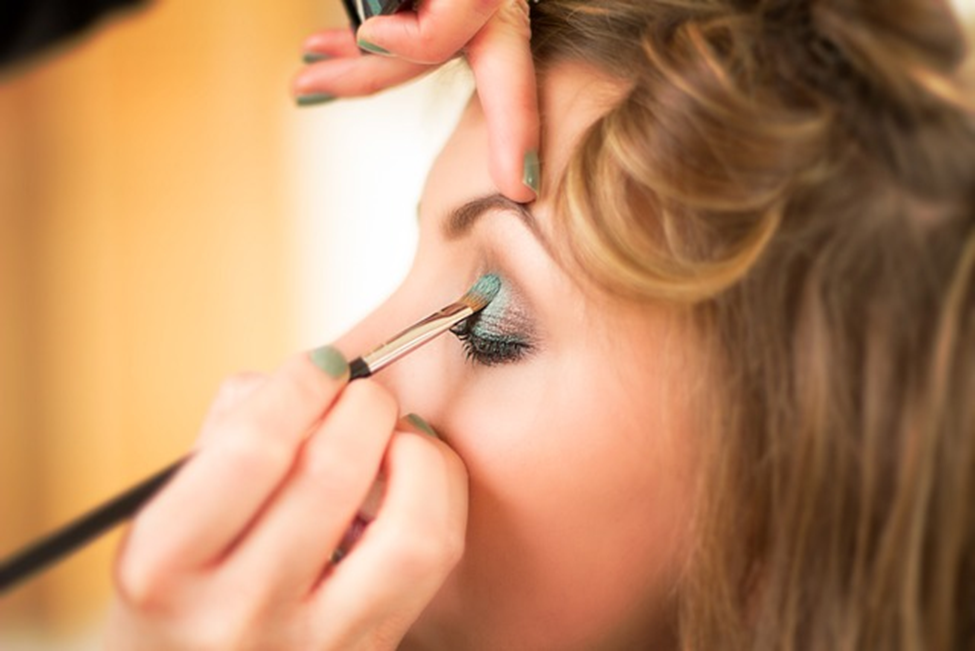
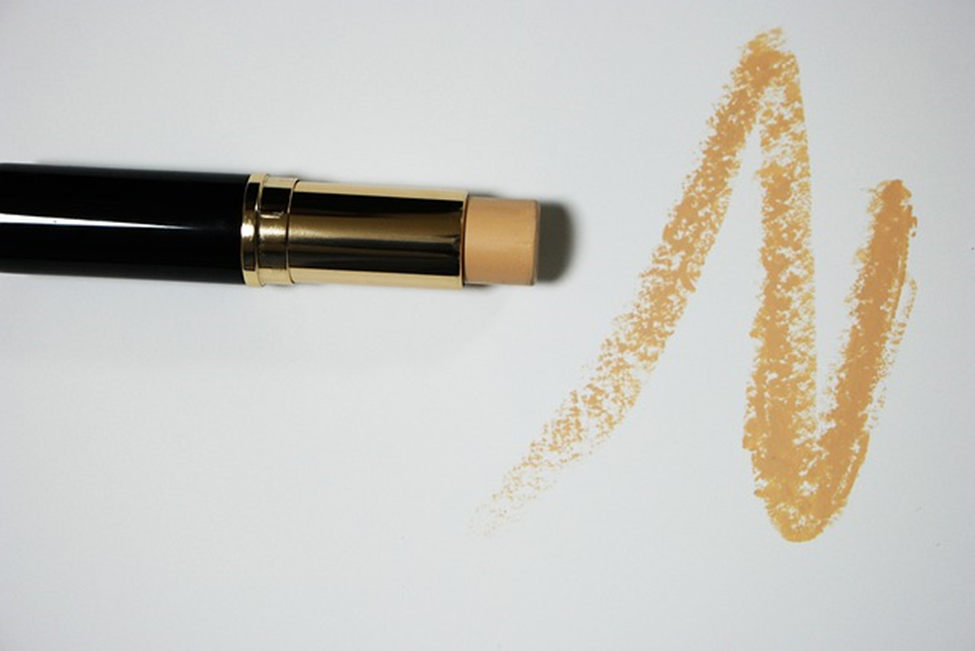
Step 3: Conceal Pimples Makeup for Skin The Perfect Concealer Technique
When concealing pimples, the trick is to use the right formula and technique to avoid a thick, cakey layer that draws attention to the spot instead of hiding it. The goal is to camouflage the blemish while keeping your makeup looking fresh and natural.
Start with a creamy, high-coverage concealer that matches your skin tone. A drier formula may last longer but can emphasize raised texture, so a hydrating one works better for smoother blending. A great trick is to first outline the area with a thin layer, as this diffuses the appearance of the pimples instead of making them look more obvious. Use a brush or your ring finger to tap—never rub—the concealer onto the blemish. Dragging the product can shift coverage and make the halo effect around the pimples worse. If needed, add another layer for more coverage, but always blend naturally for the best result. Once done, set it with a light powder to lock it in place for longevity without making it look heavy.
Step 4: Conceal Pimples Makeup for Skin Lock It in Place with Powder
Once you’ve applied your concealer, it’s time to ensure it stays put all day. The right technique makes a big difference. If you skip this step, you might end up with creasing or unwanted oil buildup, which can draw attention to your pimples instead of hiding them.
Start by using a fluffy brush to pick up a finely milled translucent powder. Gently press it over your concealed areas rather than sweeping—this prevents cakiness and keeps the coverage intact. If you have dry skin, using a damp beauty sponge instead of a brush can help the powder melt seamlessly into the skin without emphasizing any unwanted texture.
For extra long wear, finish with a hydrating setting spray. This step helps to lock everything in place while preventing your skin from looking too matte or flat. If you struggle with excess shine, layering a light dusting of setting powder in your oily zones will keep your makeup fresh throughout the day.
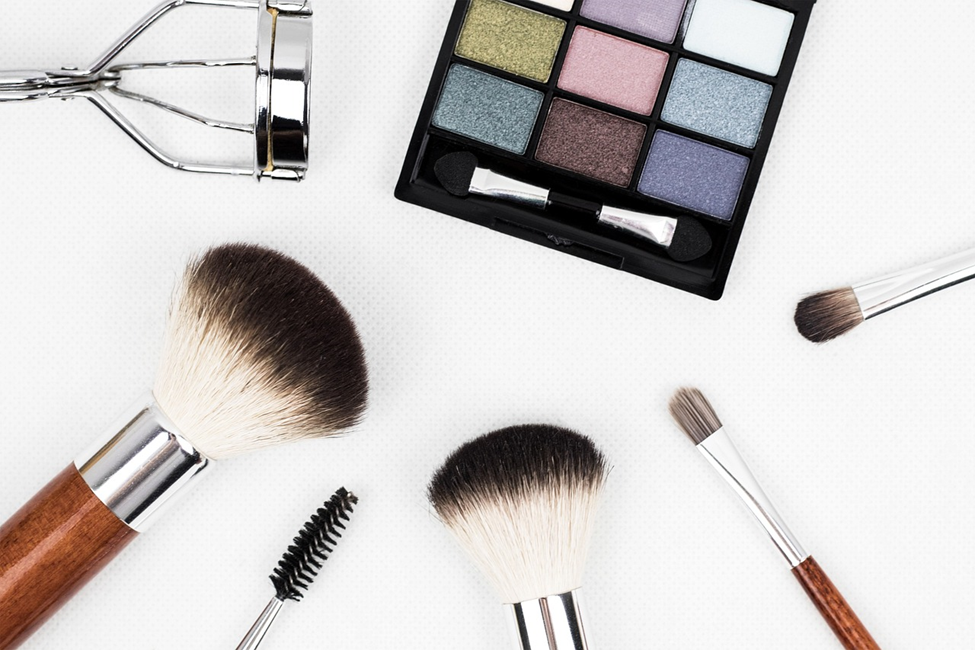
Step 5: Foundation (If Needed)
For covering blemishes, choosing the right foundation is key. A lightweight, buildable formula works best because it allows you to layer without looking cakey. Instead of applying a full-face of product, focus on areas that need extra coverage, blending seamlessly into the rest of your skin.
To apply, use a damp sponge and gently press the product onto your skin. Avoid rubbing, as this can move the concealer and reduce its effectiveness. Thin layering prevents makeup from appearing thick and ensures it lasts longer without disturbing the areas where you’ve already concealed. If needed, build layers slowly rather than applying too much at once. Lock everything in place with a setting powder or spray to maintain smooth, even coverage throughout the day.
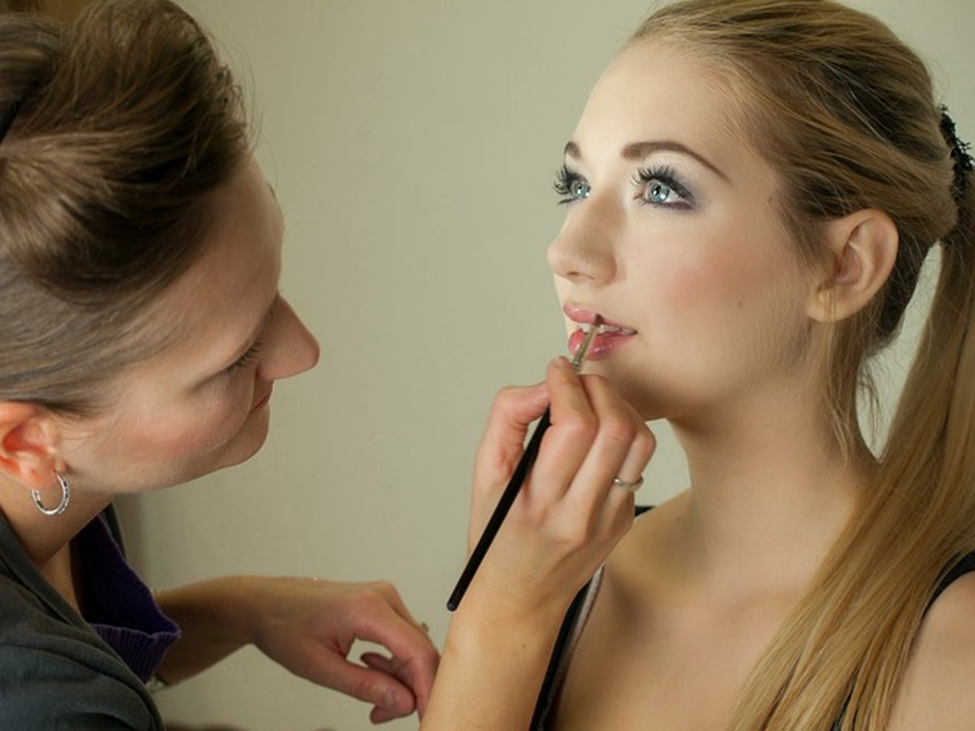
Step 6: The Finishing Touches
To ensure your makeup lasts for hours and looks flawless, perfecting the blend and setting everything in place is the final step. Start by softly tapping around the edges of the concealer to make sure it is well-blended into your natural skin tone.
For added longevity, a setting spray is a must. A few spritzes will keep your makeup in place without looking cakey. If your pimple still stands out, try using a brown eyeliner to lightly dot over the area and create a faux beauty mark. This simple trick makes it look intentional rather than a flaw.
Step 7: Proper Removal to Avoid Future Breakouts
Taking off your makeup the right way is just as important as applying it correctly. If not done properly, leftover product, dirt, and oil can clog your skin, leading to more breakouts. Start with micellar water to dissolve makeup without irritation, then follow up with a double cleanse to remove all traces.
For extra care, apply a spot treatment before bed. If a stubborn pimple needs attention, an overnight hydrocolloid patch can help absorb excess oil and speed up healing.
Final Thoughts: Confidence Over Perfection
Makeup is a tool to enhance your natural beauty while keeping your skin healthy. Everyone deals with pimples, and wanting a flawless finish is completely normal. The key is to focus on covering blemishes in a way that boosts your confidence rather than striving for perfection.
A good skincare routine alongside your makeup application can keep your skin in better shape, reducing the need for heavy layers. The goal is to work with your skin, not against it, by choosing breathable formulas that provide coverage while allowing healing.
I’d love to hear what works for you! If you have any pimple-covering tricks or favorite products, feel free to share them in the comments. After all, looking good is about feeling confident in your own skin!
